- Removing a shower head is a simple DIY task that most beginners can complete safely with basic tools and minimal effort.
- The most common reasons for removal include replacing the fixture, cleaning mineral buildup, fixing leaks, or upgrading to a better model.
- You usually don’t need to shut off the main water supply—just turn off the shower and make sure it’s not running before you start.
- Protect the shower head finish by wrapping it in a towel before using a wrench or pliers to avoid scratches.
- If the shower head is stuck, use penetrating oil, heat, extra leverage, or a vinegar soak, but avoid forcing it to prevent damage.
- Inspect the shower arm threads after removal; clean off rust, buildup, or old plumber’s tape before installing a new head.
- Reattach a new shower head by applying plumber’s tape, hand-tightening, and then finishing with a wrench—without overtightening to avoid leaks.
If you’re a beginner trying to figure out how to remove a shower head, you’re in the right place. Removing a shower head is one of those small plumbing tasks that looks intimidating, but it’s actually pretty simple once you know what to do. Whether you’re replacing an old fixture, cleaning mineral buildup, or upgrading to a new model, this guide will walk you through the process step by step.
You don’t need to be a DIY expert or own a garage full of tools. With just a few basic items and a little patience, you can remove your shower head safely and without damaging your plumbing.
Why Would You Need to Remove a Shower Head?
There are a few common reasons homeowners remove shower heads, including:
- Replacing a worn-out or broken shower head
- Cleaning mineral buildup from hard water
- Upgrading to a better shower head
- Fixing leaks or water pressure issues
- Preparing for bathroom renovation
Even if your shower head seems fine, removing it once in a while for cleaning can improve water flow and reduce clogs. Hard water deposits can build up inside the nozzle, and over time, that buildup will reduce pressure and affect your shower experience.
What Tools Do You Need to Remove a Shower Head?
Before you start, it’s a good idea to gather everything you need. Most of these items are common in any household.
Tools and Materials
- Adjustable wrench or pliers
- Towel or rag
- Tape (optional)
- Rubber gloves (optional)
- Penetrating oil (optional, for stuck shower heads)
If you don’t have an adjustable wrench, a pair of channel-lock pliers works just as well. The towel or rag is used to protect the finish on the shower head and prevent scratches.
Step 1: Turn Off the Water (Do You Really Need to?)
The good news is, you don’t usually need to turn off the main water supply to remove a shower head. However, you should turn off the shower and make sure it’s not running.
Quick Checklist
- Turn off the shower
- Make sure the water is fully off
- Check for any drips or leaks
This prevents any water from spraying when you loosen the shower head.
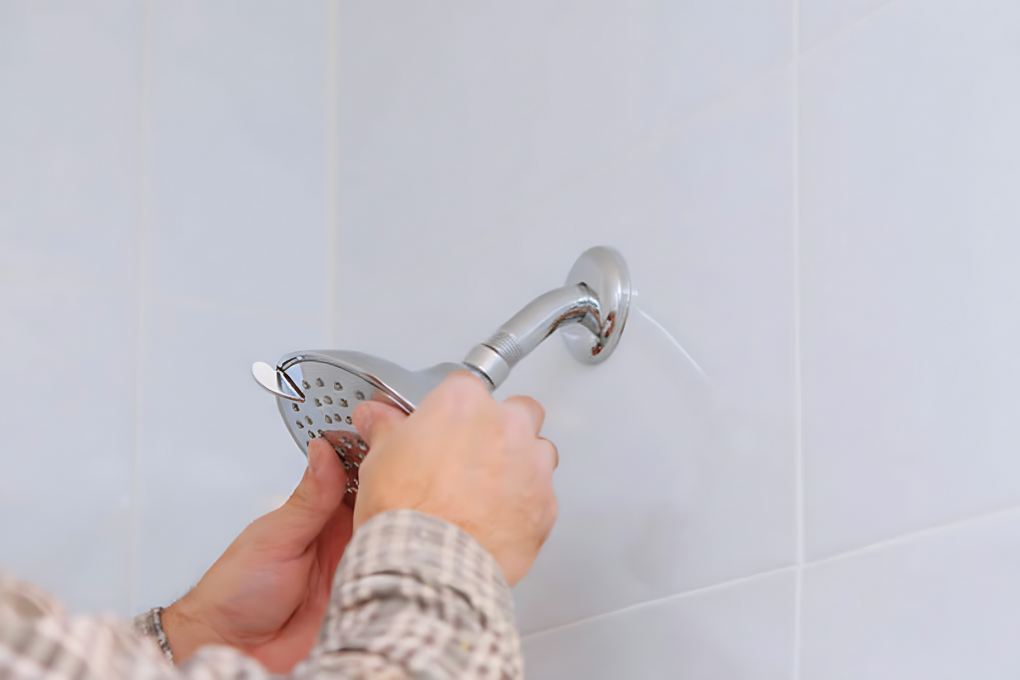
Step 2: Protect the Shower Head Finish
Most shower heads are made from chrome or other polished materials. Using tools directly on the surface can scratch or damage the finish.
How to Protect It
- Wrap a towel or rag around the shower head
- Hold the shower head with one hand
- Use the wrench or pliers over the towel
This simple step helps keep your fixture looking new and avoids any cosmetic damage.
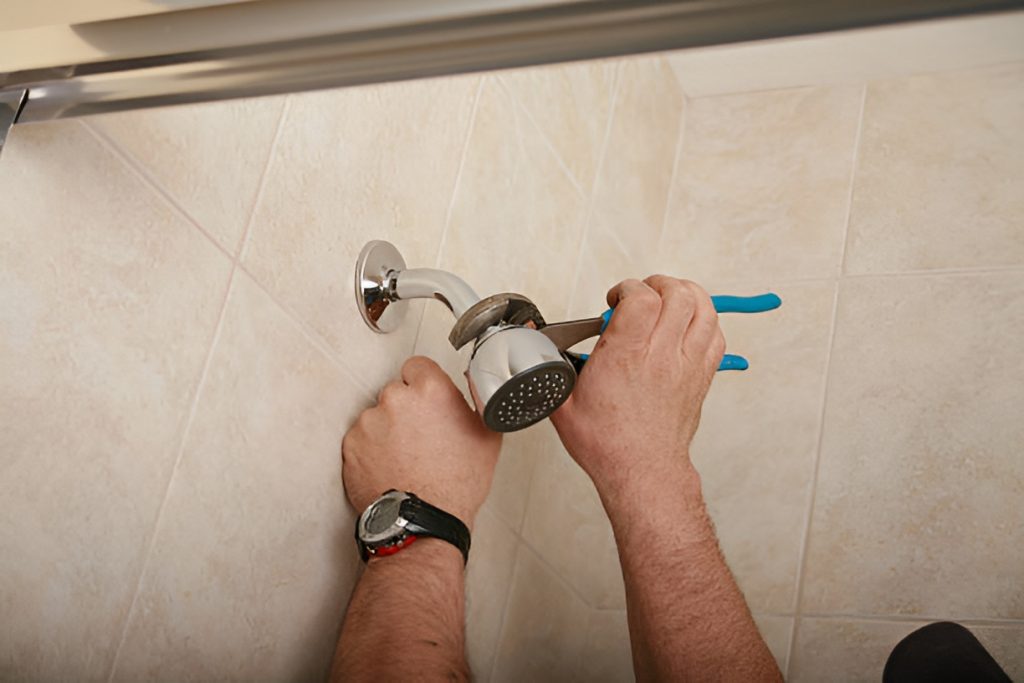
Step 3: Loosen the Shower Head
Now it’s time to actually loosen the shower head from the shower arm.
How to Do It
- Wrap the towel around the shower head
- Use the adjustable wrench to grip the base
- Turn the wrench counterclockwise
- Apply steady pressure until it starts to loosen
If the shower head is old or has mineral buildup, it may be tight. Don’t force it too hard. Applying too much pressure can strip the threads or damage the shower arm.
What If the Shower Head Won’t Budge?
This is a common problem, especially in homes with hard water. Here are a few solutions that work well:
Try These Fixes
- Use penetrating oil: Apply a small amount to the connection and wait 10–15 minutes
- Apply heat: Warm the connection with a hairdryer (not too hot)
- Use more leverage: Use a longer wrench or pliers
- Use vinegar soak: If the shower head is removable, soak the connection in vinegar for 30 minutes
If it still won’t move, don’t keep forcing it. You may need a plumber’s help to avoid damaging the plumbing.
Step 4: Remove the Shower Head
Once it’s loosened, you can usually finish removing the shower head by hand.
Removal Steps
- Keep turning counterclockwise
- Pull the shower head away from the shower arm
- Inspect the threads for any damage or buildup
If the shower head comes off easily, you’re almost done. If not, it may still be stuck due to mineral deposits or old plumber’s tape.
What to Do After Removing the Shower Head
Now that the shower head is removed, you have a few things to check.
Inspect the Shower Arm and Threads
- Look for any rust or mineral buildup
- Check for damaged threads
- Clean the threads with a rag or brush
- Remove any old plumber’s tape
If the threads are damaged, the new shower head may not seal properly, causing leaks. In that case, you may need to replace the shower arm or have a plumber inspect it.
How to Clean the Shower Head (Optional)
If you’re removing the shower head for cleaning, this is the perfect time.
Cleaning Steps
- Fill a bowl with vinegar
- Soak the shower head for 30–60 minutes
- Scrub the nozzles with a toothbrush
- Rinse with warm water
- Reattach the shower head
This removes mineral buildup and restores water pressure.
How to Prevent Shower Head Problems in the Future

To avoid stubborn shower heads, leaks, and poor water flow, here are some simple tips:
Maintenance Tips
- Clean your shower head every 3–6 months
- Use a water softener if you have hard water
- Avoid overtightening when reattaching
- Replace the washer or plumber’s tape when needed
Regular maintenance can save you time and money in the long run.
How to Reattach a New Shower Head (Quick Overview)
If you’re replacing the shower head, you’ll want to reattach the new one properly.
Reattachment Steps
- Clean the shower arm threads
- Apply plumber’s tape
- Hand-tighten the new shower head
- Use the wrench to finish tightening (don’t over-tighten)
This ensures a tight seal and prevents leaks.
Common Mistakes to Avoid
Here are a few common mistakes beginners make when removing a shower head:
- Using too much force and damaging the threads
- Not protecting the finish with a towel
- Skipping plumber’s tape when installing a new shower head
- Ignoring mineral buildup on the shower arm
- Not checking for leaks after installation
Avoiding these mistakes will make the process smoother and prevent future problems.
In Closing
Removing a shower head is a simple DIY task that most beginners can complete in under 15 minutes. With the right tools and a little patience, you can safely remove a shower head without damaging the plumbing.
Whether you’re cleaning, replacing, or upgrading, this step-by-step guide covers everything you need to know. Once you’ve removed the shower head, you’ll likely find it’s not as intimidating as it seems.